Turn a
How to Turn a Bottle Stopper
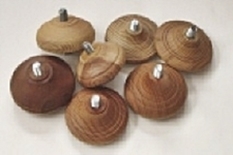
Making a bottle stopper is quick and easy. It’s a great use of small
pieces of exotic wood to make an impressive gift.
A few considerations when making stopper designs:
* How will it look in the bottle not just in a display or on a table.
* Stoppers do not need to be tall to be attractive. Check out the
glass and stone designs on the Stopper Gallery Some are almost flat and look great.
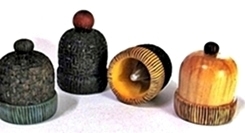
Click here to see how to make the knit cap stopper that fits over the neck of the bottle.
 |
Mount a blank (approx. 2″x2″x2.5″ long) in your jaw chuck and bring up the tailstock (tailstock is not always necessary, it adds stability) and round as much as possible close to the chuck. |
 |
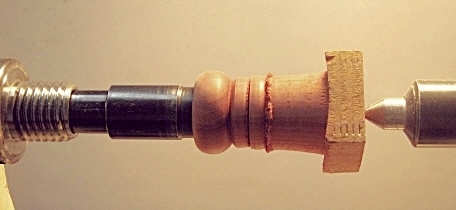
Shape the bottom sides, make a small starter hole for the drill bit and cut the indentation for the stopper to fit inside. I like to sand the bottom and put a little finish on it so I don’t need to cut close to the mandrel to finish the bottom edge. This is a “marker” I use for the diameter of the recess; put the nub in the starter dimple you make for the drill and press it to burn the circle.  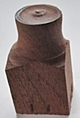 |
 |
Use the stub bit as there’s less chance of it wandering when it hits hard grain. Use a 5/16″ or 21/64″ bit and drill the hole 5/8″ deep; the stud on the stopper is 1/2″ so the 1/8″ further allows the mandrel or tap to go the full 1/2″ into the wood. You need 1/4″ air room. |
 |
Continue to turn the bottom and cut a 1/16″-1/8″ deep recess 7/8″ diameter. The recess eliminates trying to get a perfect transition. Even if you cut the bottom perfectly flat, wood always moves (forever) causing gaps where moisture and dirt can accumulate. Personal opinion: I like the turning sitting as close to the bottle as possible. |
 |
The mandrel can be threaded into the wood either by hand or by inserting it in the tail stock and turning both the head stock wheel and the tail stock by hand for even threading. Be sure to back the mandrel out every 2 threads to remove the chips; the chips can accumulate and break the threading. |
 |
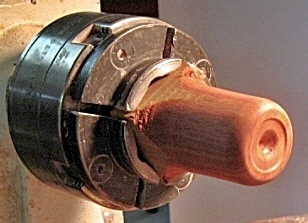
Remove the jaw chuck, the mandrel inserted into the head stock spindle and the tail stock brought up for support. Be sure your spindle is clean so the mandrel seats, also the mandrel has a 1/4″ x 20 tpi thread for a draw bar that you should use if you don’t use the tail stock. |
  |
Using a drawbar helps keep the mandrel tight in the spindle while turning. Thread the draw bar into the mandrel, through the spindle and tighten the knob to keep the mandrel secure. |
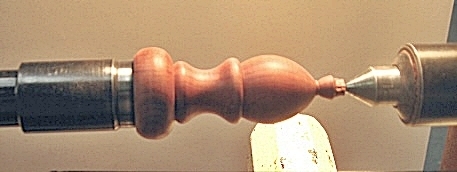 |
Turn final design. By the way, this finished design is a bit different than my original plan in the picture above because there was an crack that needed to be turned out. It is the same wood, the color variation is from lack of photographic skills. |
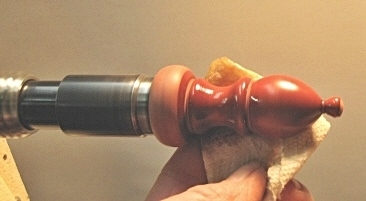 |
Final sand and add finish. After a few minutes you can just take it to the buffing wheel using the mandrel to hold the turning. |
|
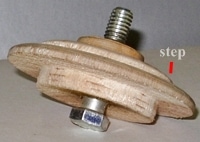
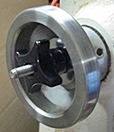
These are mandrels you can make to use in a jaw chuck for turning stoppers. Round a waste block, drill a 5/16″ hole through, thread in a 3/8″ 16 tpi lag bolt.
I have a “step” on top and bottom in case the bolt isn’t running true. Adjust the wood in the jaws so the bolt runs true then turn the step so it’s true. When that re-turned step is reversed into the chuck and the bolt runs true, remove the bolt and apply glue. Be sure the threaded end of the bolt protrudes 1/2″. |